Foam rolling techniques for recovery and injury prevention
Foam Rolling Techniques for Recovery and Injury Prevention
As an Amazon Associate I earn from qualifying purchases.
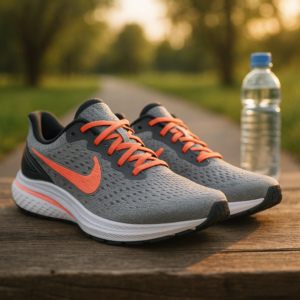
Gear tip: consider running shoes, gps running watch and hydration vest to support this workout.
Athletes and fitness enthusiasts use foam rolling as a recovery technique. This self-myofascial release method promotes recovery, enhances performance, and prevents injuries. Foam rolling alleviates muscle soreness and improves flexibility, making it essential for any fitness routine. In this blog post, we’ll explore effective foam rolling techniques and valuable tips to maximize your experience. Let’s roll into it!
Understanding Foam Rolling
Foam rolling uses a cylindrical foam roller to apply pressure to muscle groups, releasing tension and knots. This technique increases blood flow and lymphatic circulation, essential for recovery. Unlike traditional stretching, foam rolling targets fascia, the connective tissue surrounding muscles, enhancing flexibility and range of motion.
Foam rollers come in various densities and sizes, allowing individuals of all fitness levels to use them. Their affordability and portability make foam rollers accessible for anyone wanting to improve muscle health and recovery.
Effective Foam Rolling Techniques
1. Targeting Major Muscle Groups
To maximize foam rolling benefits, target major muscle groups that endure physical activity. Here are techniques for specific areas:
– **Quadriceps**: Position the roller on the floor. Lie face down and place your thighs on it. Use your arms for support. Roll from your hips to your knees. Pause and apply gentle pressure on tight spots. Spend 1-2 minutes on this muscle group.
– **Hamstrings**: Sit on the floor with the roller under your thighs. Lean back slightly, using your arms for balance. Roll from your knees to your glutes, focusing on tight areas that may need more time.
– **Calves**: Sit with your legs extended and place the roller under your calves. Lift your hips off the ground. Roll from your ankles to the back of your knees. Cross one leg over the other for more pressure on a tighter calf.
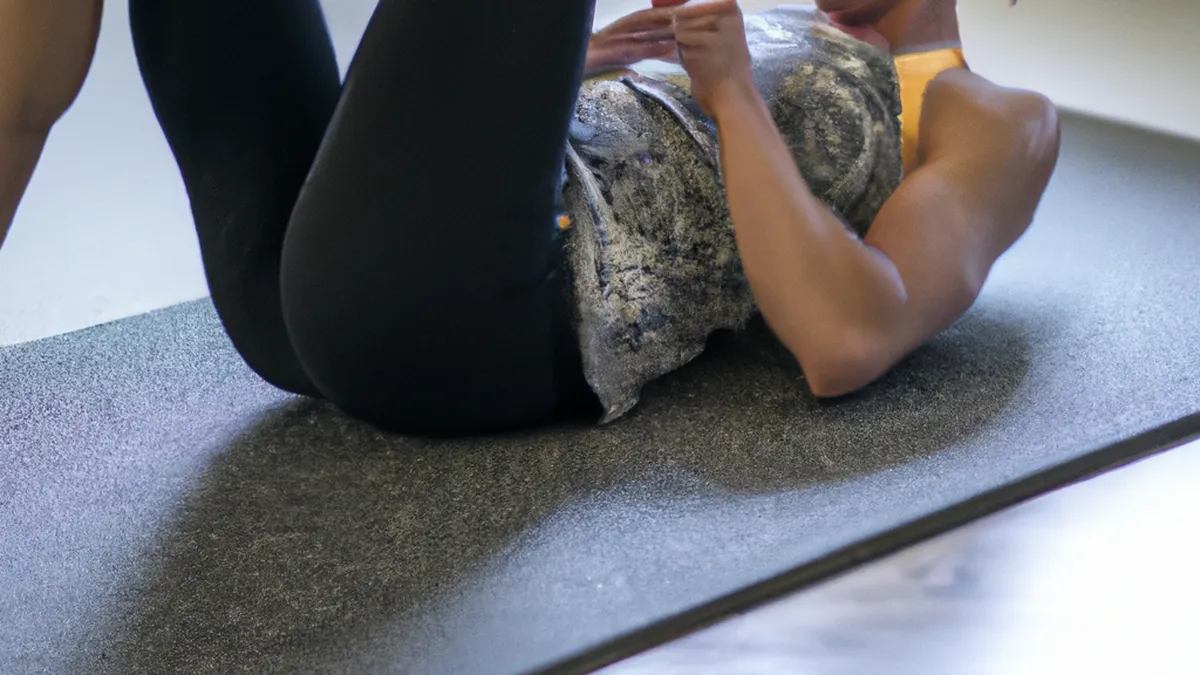
– **Back**: Lie on your back with the roller under your upper back. Cross your arms over your chest or support your neck with your hands. Lift your hips and roll from your upper back down to your lower back. Avoid rolling directly on your spine.
– **Glutes**: Sit on the roller and cross one leg over the opposite knee. Lean to the side of the raised leg and roll over the glute muscle. This technique helps relieve tension in the piriformis muscle, which can lead to sciatica if tight.
2. Adjusting Pressure and Duration
Adjusting pressure and duration significantly impacts foam rolling effectiveness.
Conclusion
Foam rolling enhances recovery and prevents injuries. Use these techniques to maximize your rolling experience.
Below are related products based on this post:
FAQ
What is foam rolling and how does it benefit athletes?
Foam rolling is a self-myofascial release technique that uses a cylindrical foam roller to apply pressure to muscle groups. This method promotes recovery, enhances performance, alleviates muscle soreness, and improves flexibility, making it essential for athletes and fitness enthusiasts.
Which muscle groups should I focus on when foam rolling?
When foam rolling, it’s important to target major muscle groups that endure physical activity, such as the quadriceps, hamstrings, calves, back, and glutes. Focusing on these areas can help relieve tension and improve flexibility.
How can I adjust the pressure and duration of my foam rolling sessions?
Adjusting the pressure can be done by changing your body position or adding weight to increase the intensity. As for duration, spending 1-2 minutes on each muscle group is generally recommended, but you can increase or decrease this time based on your specific needs and level of tightness.


Post Comment